Viral Home Upgrades 10 Rustic Diy Ideas That Actually Work
Want rustic charm without the splinters, stress, or “What did I just build?” regrets? These DIYs bring that warm farmhouse vibe with zero fluff and maximum payoff. They’re practical, durable, and surprisingly simple—no woodworking degree required. Ready to make your home feel like a chic cabin you actually want to live in?
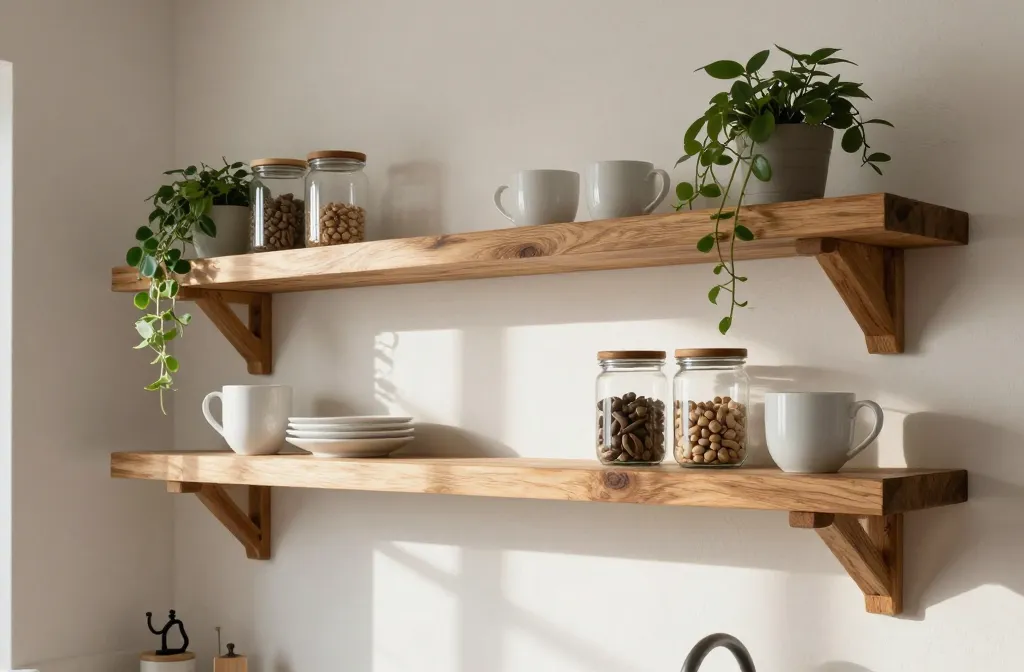
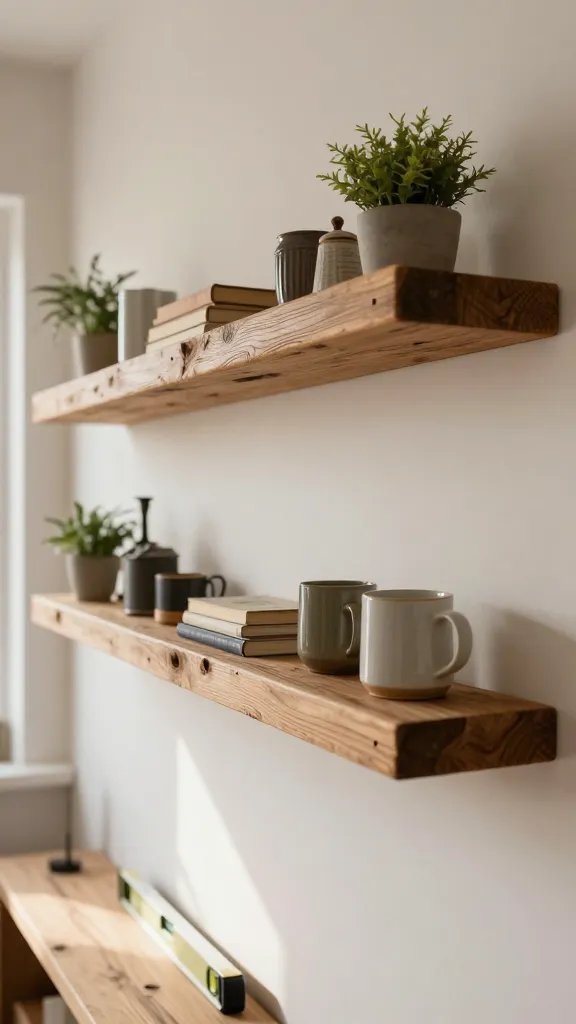
1. Salvaged Wood Floating Shelves That Don’t Sag
Tired of snacking when you’re not even hungry? This reset helps you stop the loop and feel back in control.
A simple reset for moments when cravings take over. Easy to use, easy to repeat, and designed to help you feel satisfied instead of stuck.
Floating shelves look clean, hold a ton, and scream rustic when you use reclaimed boards. The trick? Hidden brackets and thicker stock so they don’t droop like a sad pancake. You’ll get storage and instant texture on a boring wall.
Materials
- 2×10 or 2×8 reclaimed boards (straight and de-nailed)
- Heavy-duty floating shelf brackets rated for 50+ lbs
- Polyurethane or hardwax oil
- Stud finder, level, lag screws
Cut boards to length, sand just enough to remove splinters, and seal with a matte finish. Mount brackets directly into studs—two per shelf for anything over 28 inches—then slide the boards on. Want that boutique look? Stagger three shelves at different lengths.
Use these in kitchens for mugs and jars, or in bathrooms for towels and plants. They look high-end and take a beating—seriously, they’re workhorses.
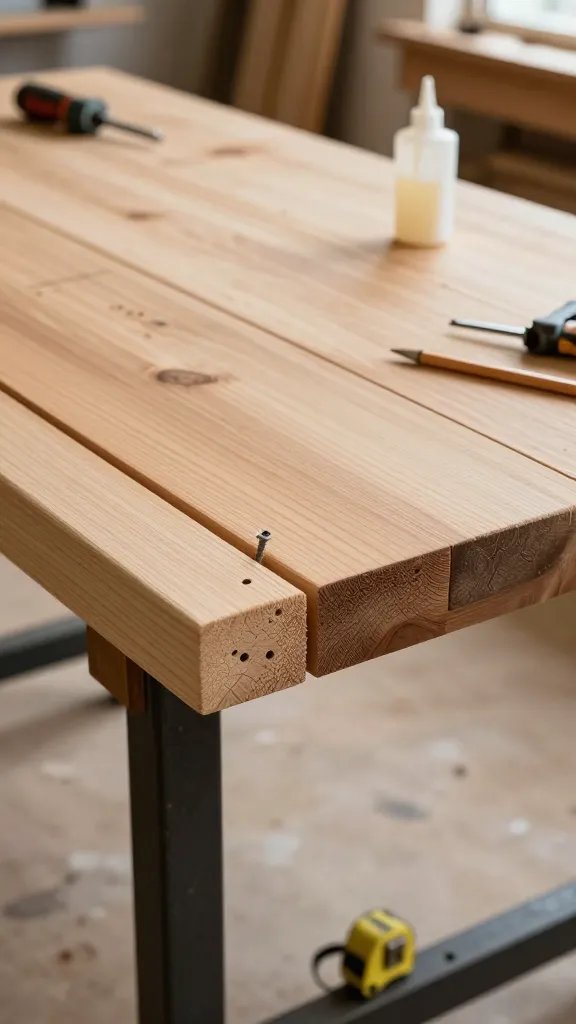
2. Farmhouse Tabletop With Breadboard Ends (No Wobble, Promise)
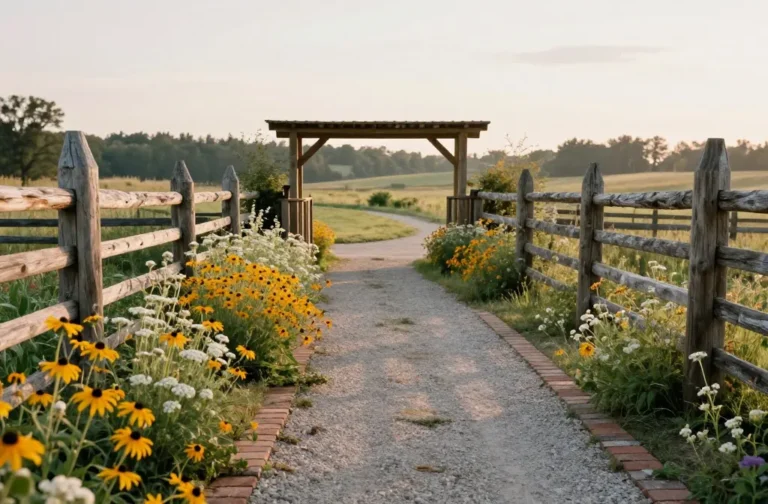
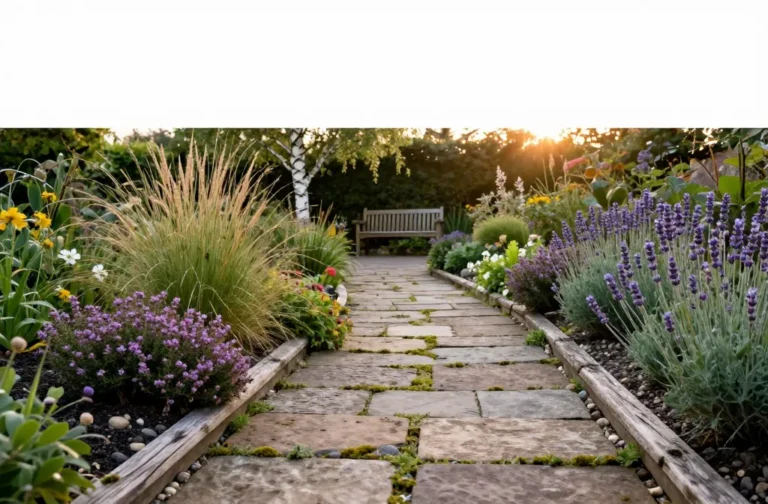
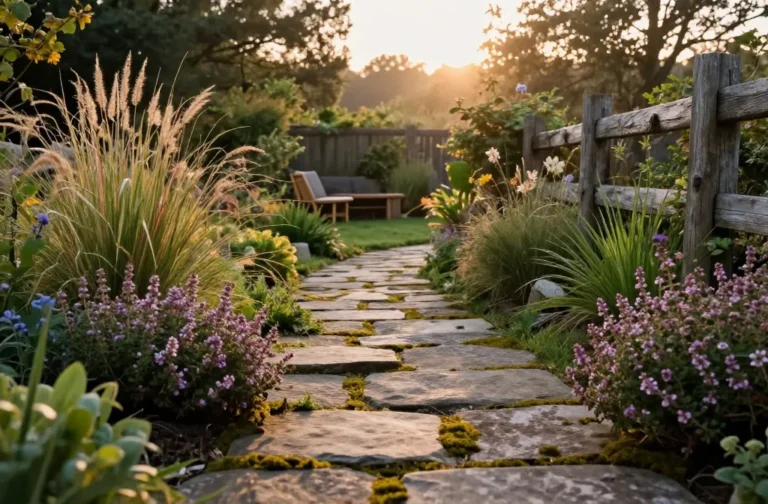
Transform Your Home With 7,250+ Stunning Landscaping Designs—No Expensive Designers Needed!
- 🌿 Access 7,250+ stunning landscaping designs.
- 💰 Save thousands—no pro designer needed.
- 🏡 Plans for gardens, patios, walkways, and more.
- ✨ Simple, beginner-friendly DIY layouts.
- 🛠️ Customize any design to fit your yard.
A rustic table can make your whole room feel grounded and inviting. Breadboard ends give a classic look and help keep the tabletop flat. The win: you can build the top and attach it to almost any sturdy base you already own.
Tips
- Use 2×6 boards for the main top and a 1×8 for each breadboard end.
- Join boards with pocket screws and glue; clamp tight for a flush surface.
- Allow for wood movement—attach breadboard ends with screws through elongated holes.
Sand to 120 grit for texture, then finish with a warm stain and matte poly. Attach to a metal or wood base, and you’ve got a piece that looks like you paid a custom maker. Perfect for dining rooms, craft stations, or that big puzzle you’ve “been meaning” to finish.
3. Mason Jar Sconce Lights That Look Custom, Not Crafty
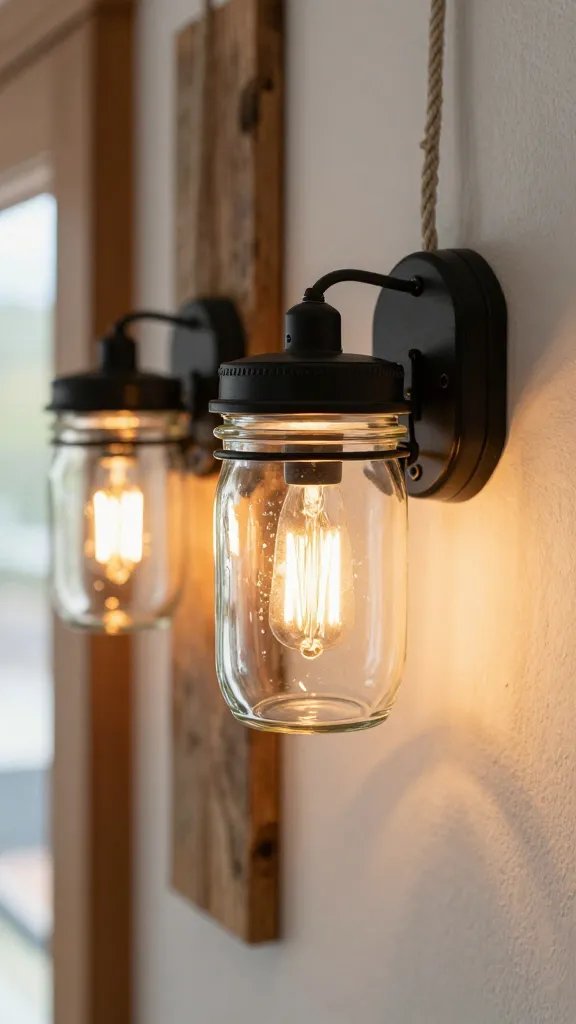
Mason jars can slip into “Pinterest fail” territory fast, but wired properly they look like cottage-core luxury. Mount them to stained boards and use vintage-style bulbs for gentle, warm light. They’re great in hallways, entryways, or as bedside lights.
Key Points
- Use premade sconce kits or pendant kits with jar lids designed for wiring.
- Secure jars to a backer board using metal hose clamps and screws.
- Choose amber or warm white LED Edison bulbs to keep the glow soft.
Wire to an existing junction box or use plug-in kits if hardwiring scares you—FYI, safety first. The vibe feels cozy and intentional, not “I glued stuff today.” These also free up nightstand space, which is clutch.
4. Distressed Ladder Blanket Rack That Doesn’t Shed Splinters
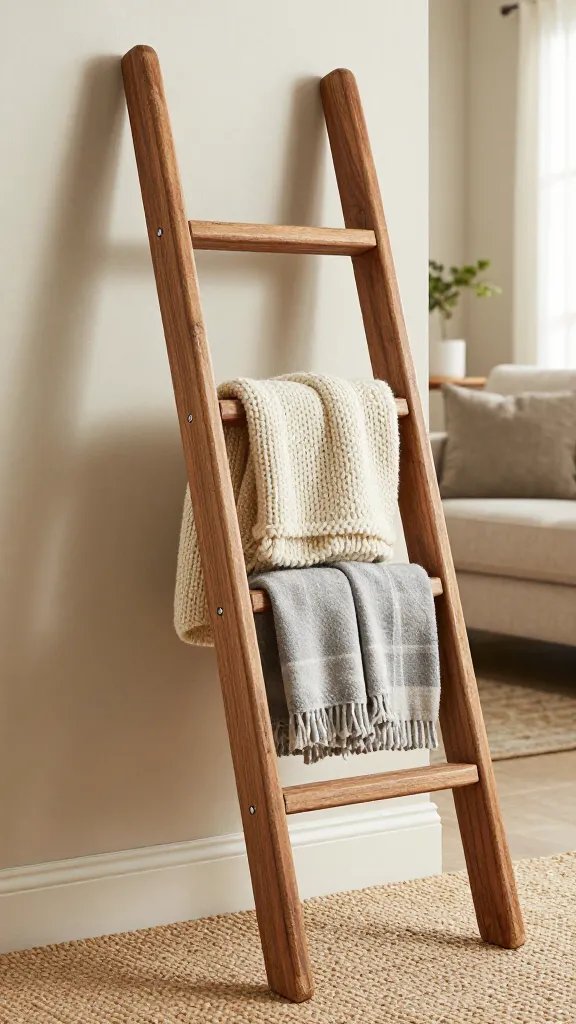
Blanket ladders make any room cozy and keep throws off the floor. Build one in an afternoon with two 2x3s and a few rungs. Done right, it looks vintage without snagging your favorite knit.
Materials
- Two 6-foot 2x3s for rails
- Four 18–20 inch rungs (1-inch dowels or ripped 2x2s)
- Wood glue, 2.5-inch screws, stain, matte poly
Space rungs about 12–14 inches apart, angle the feet slightly so the ladder leans securely, and countersink screws for a clean look. Distress lightly with 120-grit on edges and seal. Use it in living rooms or bathrooms for towels—instant spa energy, IMO.
It’s mobile, narrow, and perfect for renters who can’t mount towel bars everywhere.
5. Shiplap Accent Wall Without The Wallet Pain
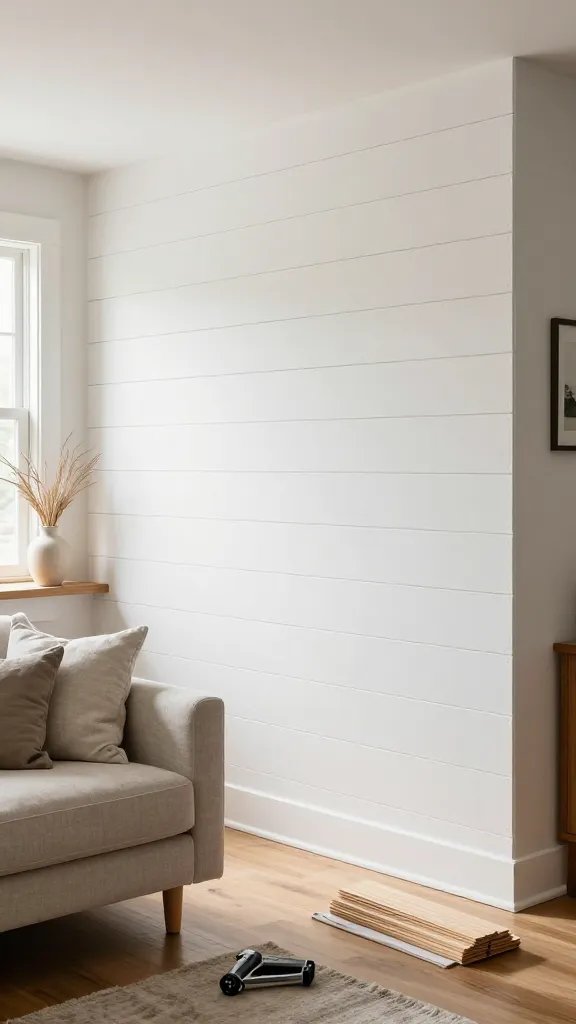
Shiplap sets a rustic tone fast, but solid wood costs add up. Use thin plywood strips and a coin for spacing to hack the look affordably. You get texture, warmth, and a focal wall your friends will ask about.
Steps
- Rip 1/4-inch plywood into 6–8 inch strips at the store if you don’t have a saw.
- Prime and paint strips before installing to save time.
- Attach to studs with brad nails; use a nickel for even gaps.
Caulk edges, paint again, and call it a day. Go with a soft white or a moody charcoal to change the room’s mood. Works behind beds, in dining areas, or as a fireplace surround.

6. Chunky Beam Mantel From A Faux Hollow Box
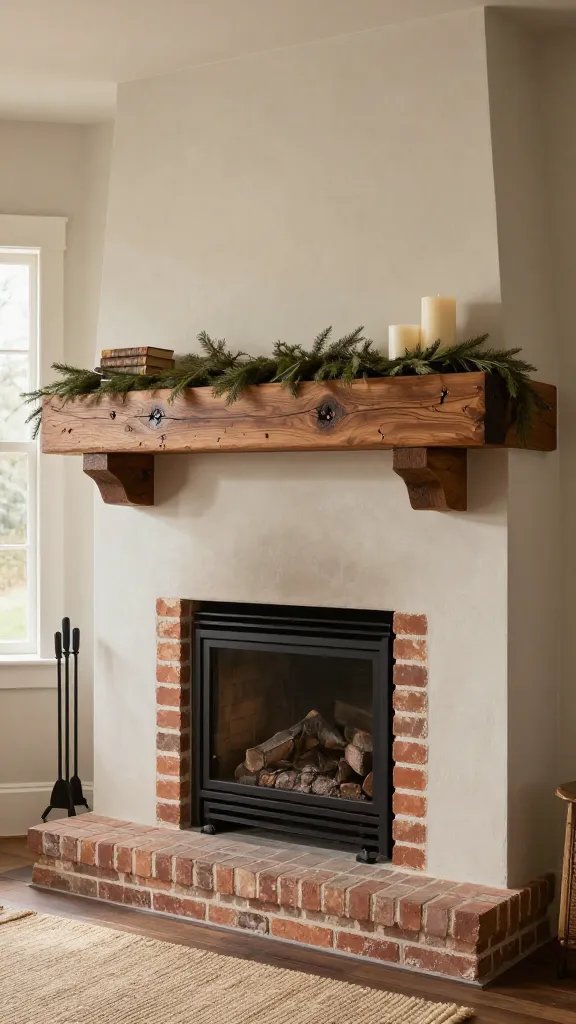
Everyone wants that reclaimed beam mantel, but not everyone wants to deadlift it. Build a hollow box beam that looks solid and mounts easily. The chunky silhouette screams rustic without the weight.
Tips For A Real-Wood Look
- Miter the front corners for seamless edges.
- Use wood filler sparingly and sand before stain.
- Distress lightly with a hammer and chain for “old barn” character.
Mount a 2x cleat into studs and slide the beam over it—secure with screws from underneath. Add greenery, candles, or a simple art piece. You’ll get big visual impact over a fireplace or entry console.
7. Crate-Style Storage On Locking Casters
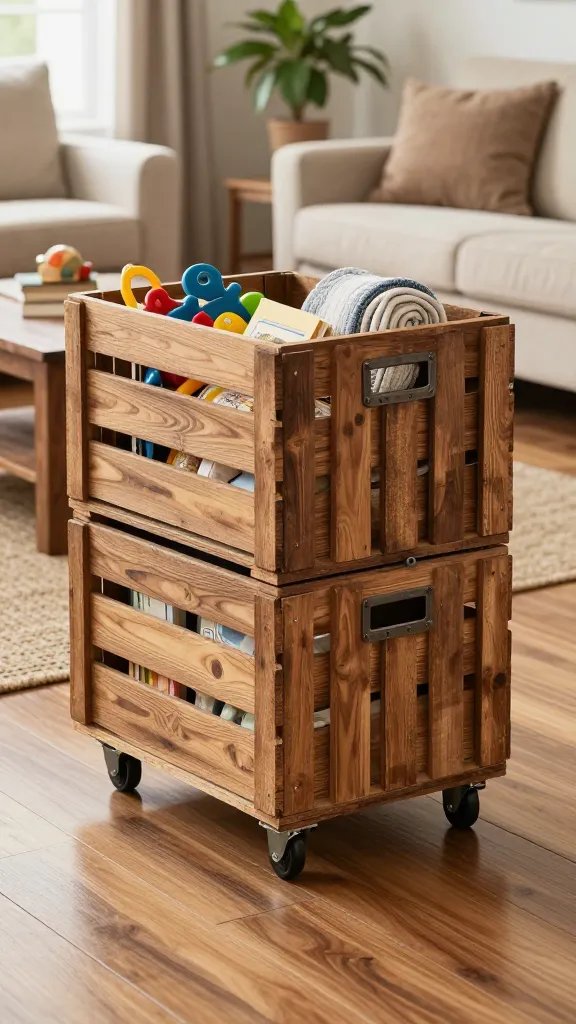
Storage that rolls wherever you need it? Yes, please. Build or buy wood crates, stack two high, and mount them on a simple caster base. It looks rustic and keeps clutter wrangled like a champ.
Materials
- Four wood crates (stained or painted)
- 3/4-inch plywood base cut to crate footprint
- Four locking casters
- L-brackets and screws
Attach crates to the base with brackets and add a handle on one side. Label the fronts with stencils or metal tags for that vintage market vibe. Use it for kids’ toys, blankets, or pantry overflow—trust me, it’s the MVP of small spaces.
8. Weathered Board Headboard With Hidden LED Glow
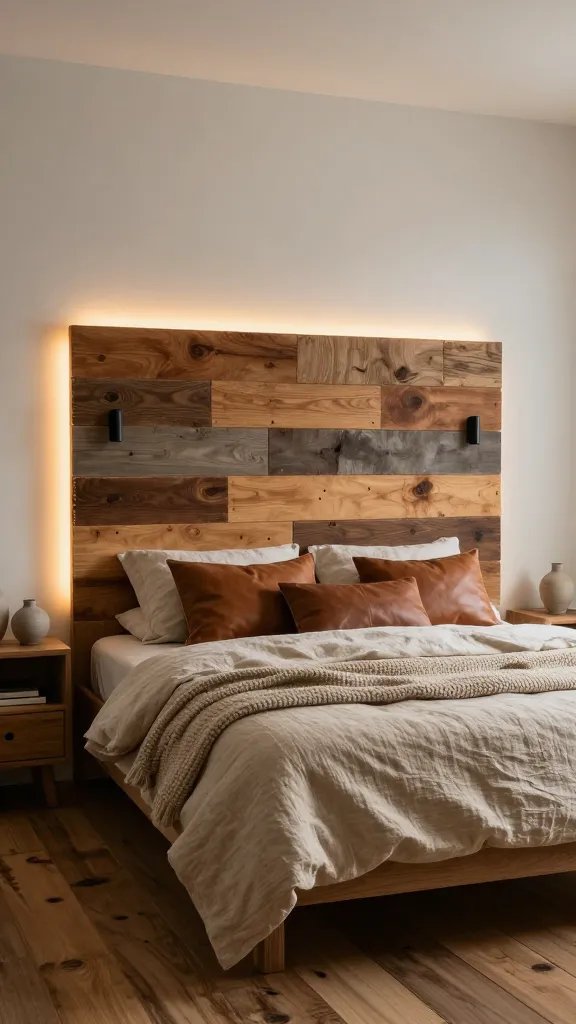
A rustic headboard instantly upgrades a bedroom, and adding LED strip lighting turns it into a soft halo. The look feels boutique-hotel-meets-lakehouse. Bonus: you can build it for under a hundred bucks.
Build Notes
- Use 1×6 or 1×8 boards mounted to a plywood backer.
- Stain boards in varied tones for depth—think warm walnut, driftwood, honey.
- Mount LED strip around the back perimeter to reflect off the wall.
Attach to the wall with a French cleat or bolt it to the bed frame. Set the LEDs to warm white and dim them for cozy reading light. Works in guest rooms when you want wow without a full remodel.
9. Industrial Pipe Open Closet That Actually Holds Clothes
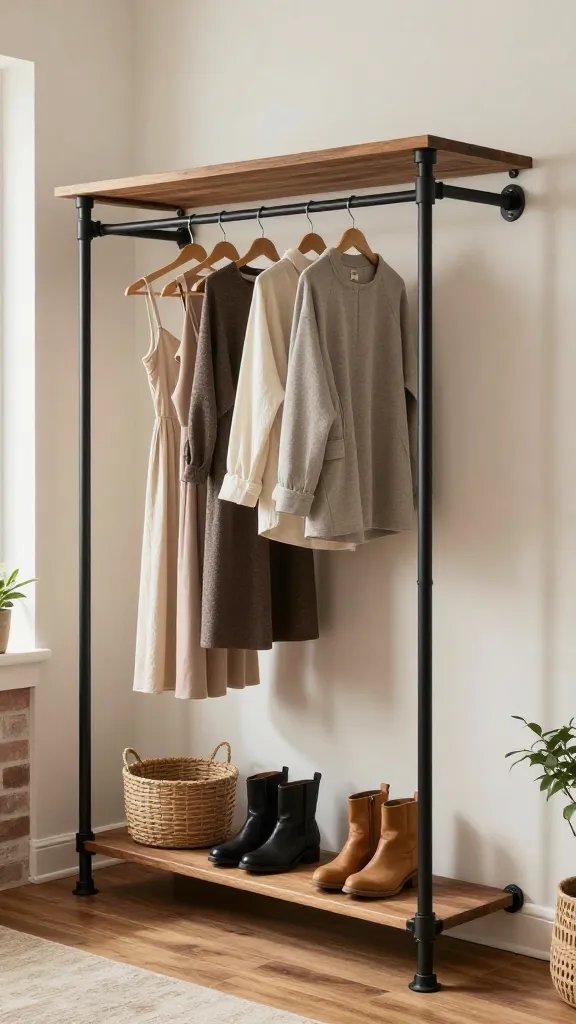
Those “cute” garment racks that fold if you look at them wrong? Not this one. Black iron pipe makes a sturdy open closet that nails the modern rustic look. It’s practical, customizable, and renter-friendly.
Layout Ideas
- One long top bar for dresses and coats
- Double bars at staggered heights for shirts and pants
- Lower shoe shelf made from a stained 2×12
Assemble with floor flanges and secure into studs for side supports if you mount to a wall. Wipe pipes with mineral spirits and seal with matte clear coat to avoid residue. Perfect for entries, studios, or when your tiny closet taps out.
10. Concrete-Top Rustic Bench That Survives Everything
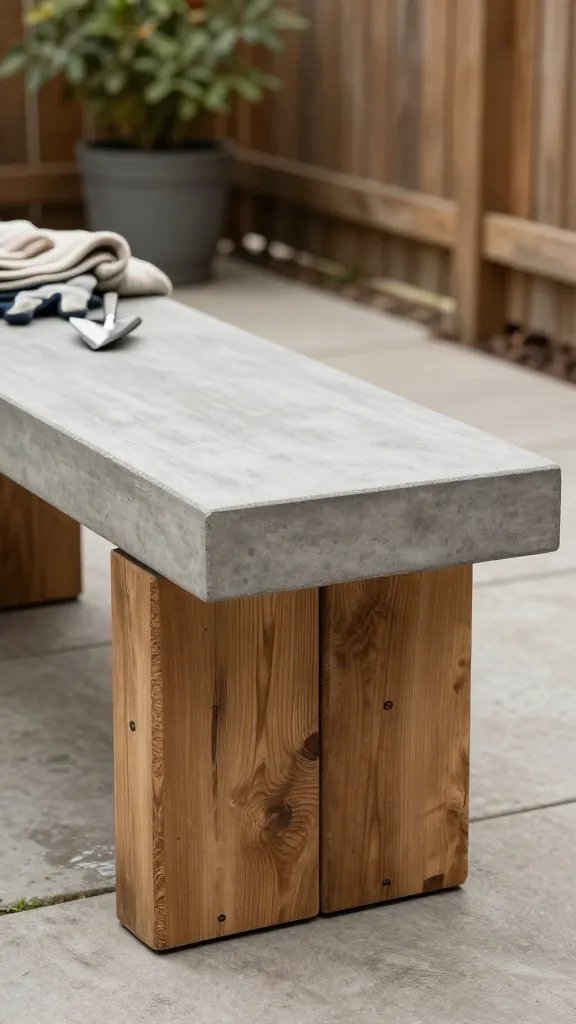
Concrete plus wood equals chef’s kiss rustic. A slim concrete top on a chunky wood base gives you indoor-outdoor durability with a refined edge. It’s easier than it looks, promise.
Materials
- Melamine board for a pour form (bench size: ~48 x 14 inches)
- Rapid-setting concrete mix and reinforcement mesh
- 2×4 or 4×4 lumber for base
- Exterior-grade screws, waterproof sealer
Build a melamine mold, oil it, lay mesh, and pour a 1.25–1.5 inch slab. Vibrate the sides to release bubbles, cure, then pop it out and polish edges. Attach to a stained wood base with silicone and concealed brackets.
Use it in entryways, patios, or bathrooms. It laughs at wet towels, muddy boots, and everyday chaos.
1. Pallet Wood Herb Planter With Stenciled Labels
Herb gardens look adorable and make you feel like a kitchen wizard. A vertical planter from pallet boards saves space and brings instant country charm. Add stenciled labels so you stop confusing mint with oregano at 7 a.m.
What You Need
- Heat-treated pallet boards (look for “HT” stamp)
- Landscape fabric or coco liners
- Exterior screws, outdoor stain, white paint + letter stencils
Build three shallow boxes, stack them on a backer, and line with fabric. Drill drainage holes, fill with potting mix, and stencil the herb names on the fronts. Hang near sunlight and snip as needed—fresh pesto on demand.
Great for balconies and small patios where every inch counts.
2. Barn Door Media Console With Sliding Track
Want to hide cable chaos? Slide it away behind mini barn doors. A simple cabinet with a top track brings big farmhouse energy and keeps remotes and routers out of sight, out of mind.
Key Points
- Use 3/4-inch plywood for the carcass and 1x4s for doors.
- Install a lightweight bypass or single-track kit sized to your opening.
- Add cross-bracing on doors for that classic “Z” detail.
Finish the case in matte black or creamy white, and stain the doors for contrast. Soft-close hinges on interior shelves keep things civilized. Perfect under TVs or as an entry catch-all.
3. Rustic Peg Rail With Shelf (Shaker Style, Zero Fuss)
Clutter near the door? Meet your new best friend. A Shaker-style peg rail with a shallow shelf adds storage and looks like it’s always belonged there.
Materials
- 1×6 backer board and 1×4 shelf
- Wood pegs or dowels spaced 6–8 inches apart
- Pocket screws, wood glue, finish of choice
Mount into studs and paint or stain to suit your space. Hang bags, hats, and dog leashes, and use the shelf for frames or plants. It’s the easiest way to look organized even when you’re absolutely not.
4. Oversized Rustic Mirror With Mitered Frame
Mirrors double your light and make rooms feel bigger. Build a chunky frame with mitered corners and you get gallery vibes for less. Add corner splines or faux dowels for character.
Tips
- Use 1×4 or 1×6 for the frame; back it with 1/4-inch plywood.
- Glue and clamp tight; add metal brackets on the back for strength.
- Stain, then wax for a low-sheen, touchable finish.
Lean it against a wall or mount with a French cleat. Fantastic in bedrooms, hallways, and entry nooks where light needs a little help.
5. Reclaimed Wood Herringbone Coffee Table Top
Herringbone patterns make any surface look luxe. Use reclaimed planks cut into equal lengths and you’ll get movement, texture, and “Where did you buy that?” energy. It’s a bit of a puzzle, but a satisfying one.
Build Notes
- Create a plywood substrate; snap a centerline.
- Glue and brad-nail pieces at 45 degrees in a tight V pattern.
- Trim edges with a clean border frame.
Finish with a hardwax oil to keep the wood natural. Toss on a chunky tray and a candle and call it magazine-ready.
6. Rope-Wrapped Pendant Lights Over The Island
Nothing says rustic coastal like rope and warm light. Wrap a basic pendant cord with jute and pair it with a simple metal shade. You’ll get texture overhead without visual clutter.
Safety + Style
- Use heat-safe bulbs (LEDs) and keep rope away from hot surfaces.
- Secure the rope with clear adhesive in tight spirals.
- Hang pendants at 30–34 inches above the countertop.
The result feels casual but thoughtful—great over islands, breakfast nooks, or reading corners.
7. Mudroom Bench With Crate Cubbies And A Plank Back
No foyer? Fake one. A simple bench with cubbies and a plank backboard creates a landing zone that tames the daily chaos.
Plan
- Build a 2×12 bench with a divider for crates or baskets.
- Attach a tall plank backboard with hooks at varying heights.
- Top with a cushioned pad covered in canvas or leather.
Paint the frame and leave the top natural for contrast. Families love this because every shoe and backpack finally has a home. Your future self will thank you.
8. Rustic Gallery Ledge For Rotating Art
Not ready to commit to a full gallery wall? Build slim picture ledges and swap art whenever the mood hits. They look airy and add that curated, collected feel.
Materials
- 1×3 back, 1×4 base, 1×2 lip
- Wood glue, brad nails, screws into studs
- Stain or paint in a satin finish
Layer frames of different sizes with a couple of small objects—think a tiny plant or sculpture. Great in hallways, above sofas, or in kids’ rooms where masterpieces evolve weekly, FYI.
9. Live-Edge Shelf With Black Brackets
Live-edge wood brings nature indoors with zero pretension. Keep it simple: a sanded slab, sealed matte, on strong black brackets. The contrast looks designer, not DIY.
Quick Wins
- Flatten underside slightly for stability.
- Remove loose bark and soften sharp edges.
- Seal with Rubio Monocoat or matte poly for a natural feel.
Use it for books, speakers, or a plant parade. It’s a subtle flex that shows off good taste without trying too hard.
10. Rustic Chalkboard Command Center You’ll Actually Use
Chalkboards can feel gimmicky unless they’re functional. Build a wood-framed chalkboard with a tiny mail slot and a key rail. Suddenly, your week looks manageable and cute.
Features
- Magnetic chalkboard paint on thin sheet metal for magnet notes
- Small shelf for chalk and markers
- Hooks for keys, leashes, or umbrellas
Mount near the entry and keep a rotating list for groceries and to-dos. Families, roommates, or forgetful humans: this one’s for you, seriously.
Ready to roll up your sleeves? Pick one project, gather your supplies, and start. Rustic doesn’t mean rough—it means warm, functional, and full of character. You’ve got this, and your home’s about to feel like a cozy retreat you never want to leave.