10 Diy Rustic Pathway Ideas That Transform Your Garden
Your yard called—it wants character. These DIY rustic pathway ideas bring texture, warmth, and that “did a cottagecore Pinterest board just explode here?” vibe to your garden. Most of them use affordable, found, or repurposed materials. Grab gloves and a weekend; you’re about to build something gorgeous, sturdy, and ridiculously satisfying.
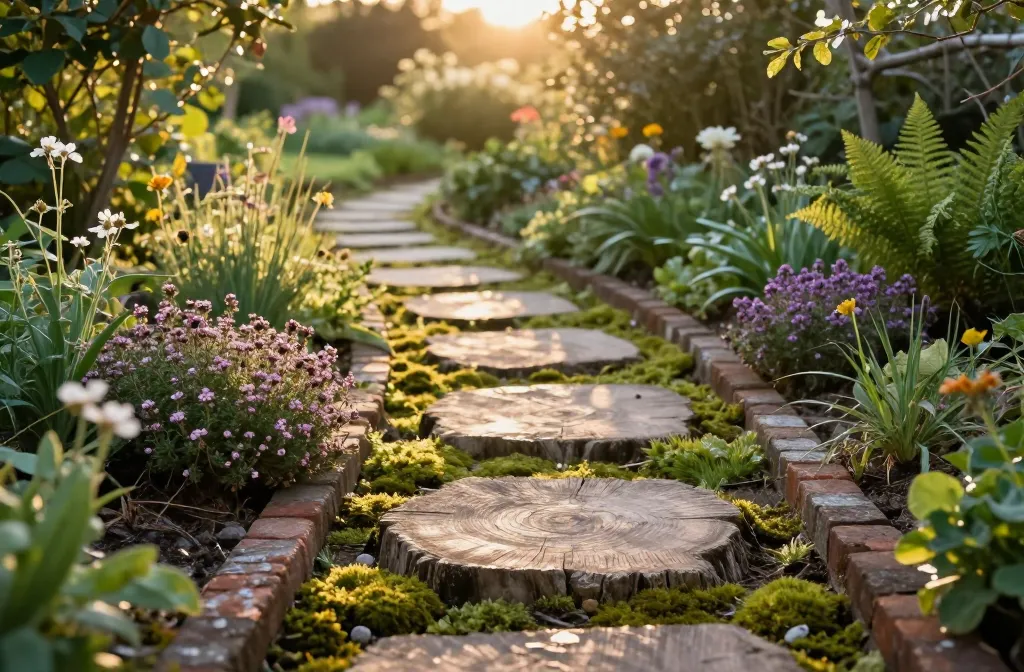
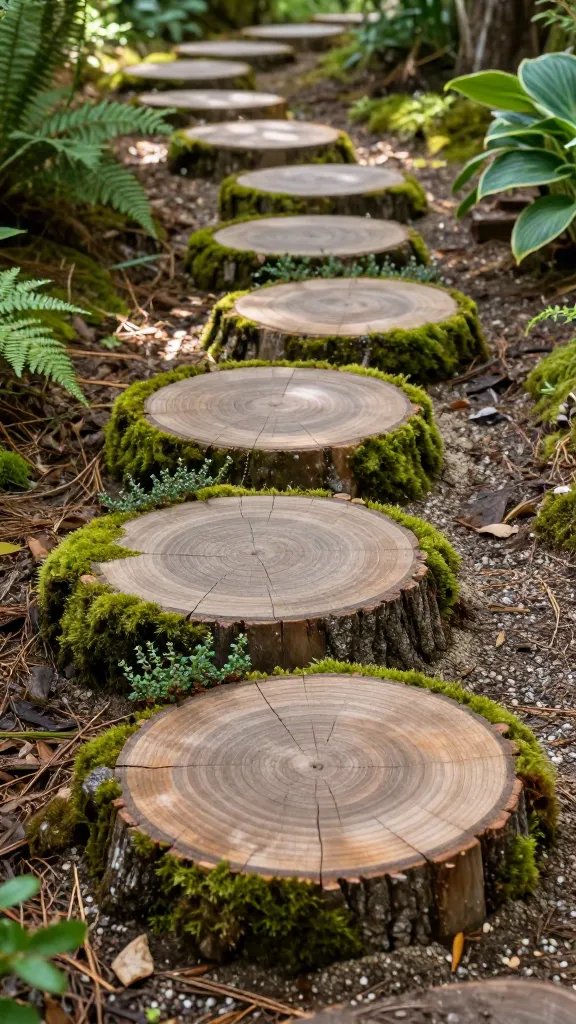
1. Log Slice Steppers With Moss Edges
Tired of snacking when you’re not even hungry? This reset helps you stop the loop and feel back in control.
A simple reset for moments when cravings take over. Easy to use, easy to repeat, and designed to help you feel satisfied instead of stuck.
Turn fallen logs into storybook stepping stones. Log slices look wildly charming and add that crunchy forest feel you see in dreamy woodland paths. They’re low-cost, eco-friendly, and surprisingly sturdy when set right.
Materials
- Log slices (2–3 inches thick, similar diameter)
- Landscape fabric, sand, and compacted gravel
- Moss or creeping thyme plugs
- Exterior wood sealer (optional)
Level your path bed with compacted gravel and a thin sand layer. Set slices flush with soil so they don’t wobble, then tuck moss or thyme between them for soft edges and drainage. Seal the wood if you want to slow rot—IMO, a little weathering looks better.
Best for shaded, low-traffic garden paths where you want fairytale vibes and easy maintenance.
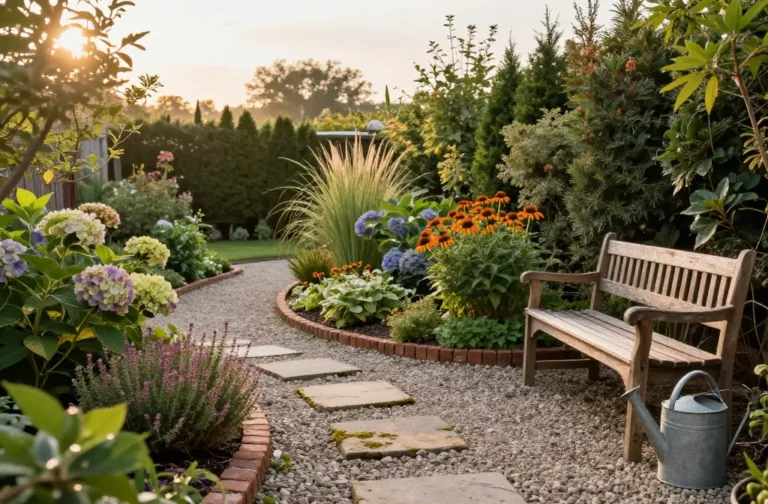
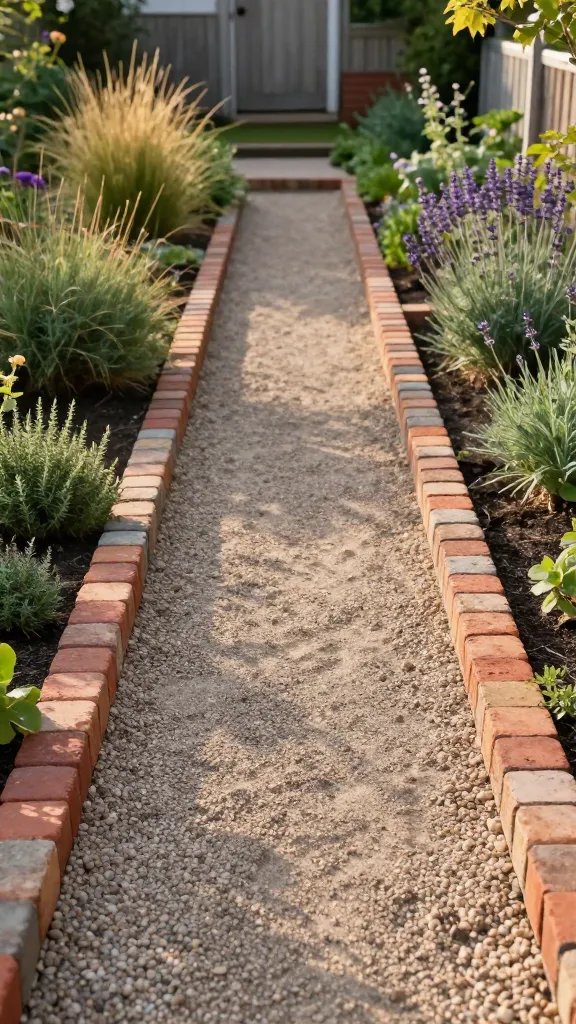
2. Crushed Gravel Ribbon With Brick Soldiers
Transform Your Home With 7,250+ Stunning Landscaping Designs—No Expensive Designers Needed!
- 🌿 Access 7,250+ stunning landscaping designs.
- 💰 Save thousands—no pro designer needed.
- 🏡 Plans for gardens, patios, walkways, and more.
- ✨ Simple, beginner-friendly DIY layouts.
- 🛠️ Customize any design to fit your yard.
Want a clean, classic look that still feels rustic? A crushed gravel lane with a brick “soldier” border nails it. The bricks keep everything neat while the gravel looks natural and drains like a champ.
Key Steps
- Excavate 4–6 inches; install landscape fabric
- Add 3–4 inches of compactable base gravel, tamp
- Edge with bricks set on sand, top with 1–2 inches of pea gravel
- Compact again and sweep in fines
Choose warm-toned bricks for that sun-baked farmhouse feel. Add a thin strip of low herbs along the edges and your walkway feels instantly intentional.
Perfect for front entries or side yards where you need drainage and durable footing.
3. Reclaimed Brick Herringbone With Wildflower Gaps

Herringbone brick says “old-world charm” without trying too hard. Using reclaimed bricks adds character—every scuff tells a story you didn’t have to pay retail for. It’s sturdy, timeless, and gorgeous with a few soft green interruptions.
Tips
- Sort bricks by thickness for level laying
- Use sand or lime mortar depending on permanence
- Leave 1/4-inch joints for jointing sand or creeping thyme
Lay in a herringbone pattern for visual movement. Sweep polymeric sand for a set-it-and-forget-it finish, or fill gaps with soil and sprinkle thyme seeds for a lived-in, cottage look.
Ideal where you want classic durability with romantic edges—like a garden entrance or seating area approach.
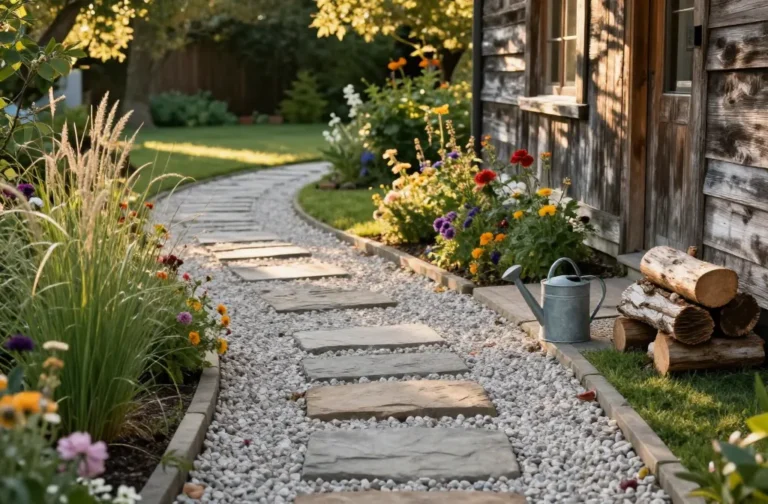
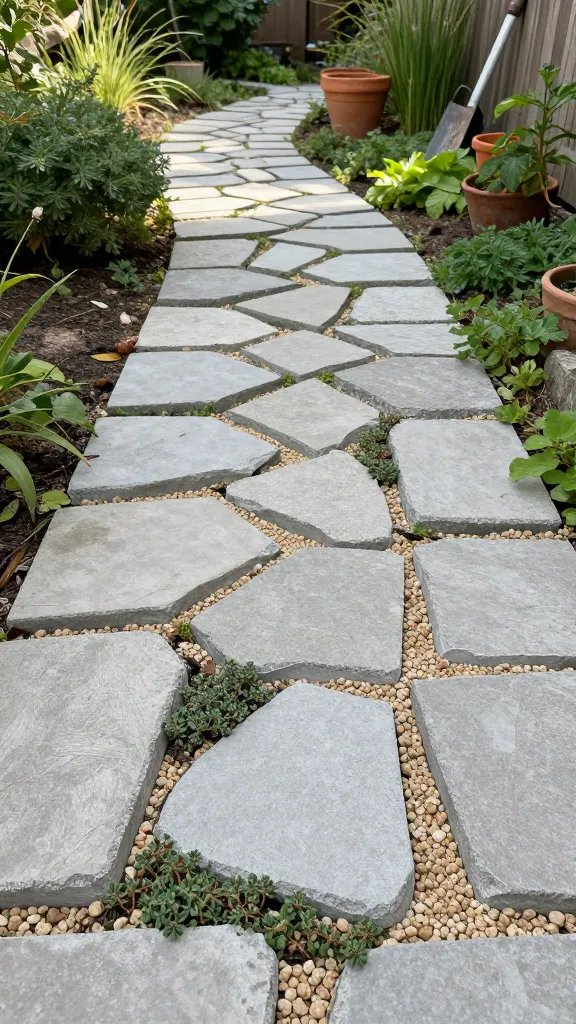
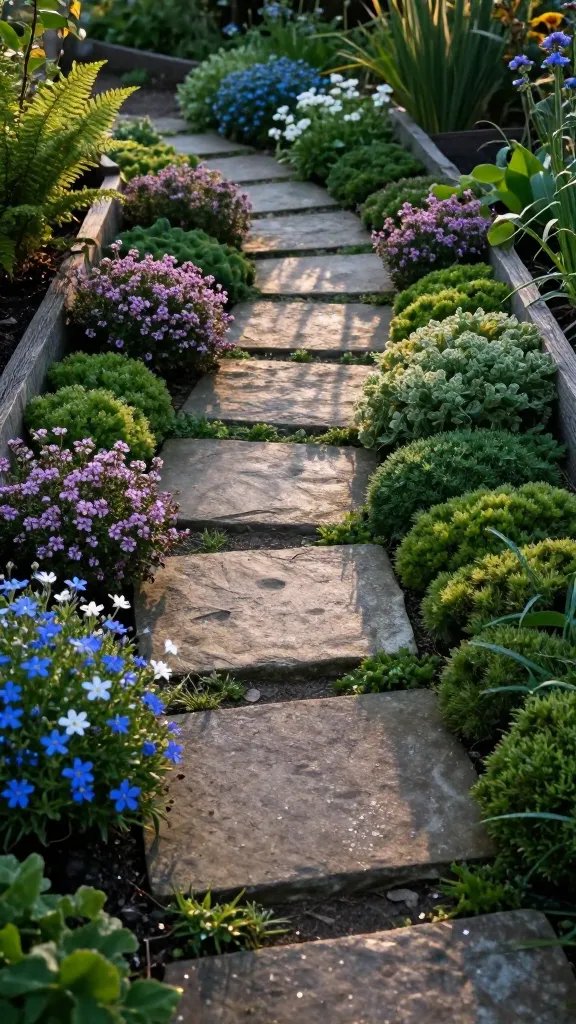
4. Flagstone Steppers With Pea Gravel Fill
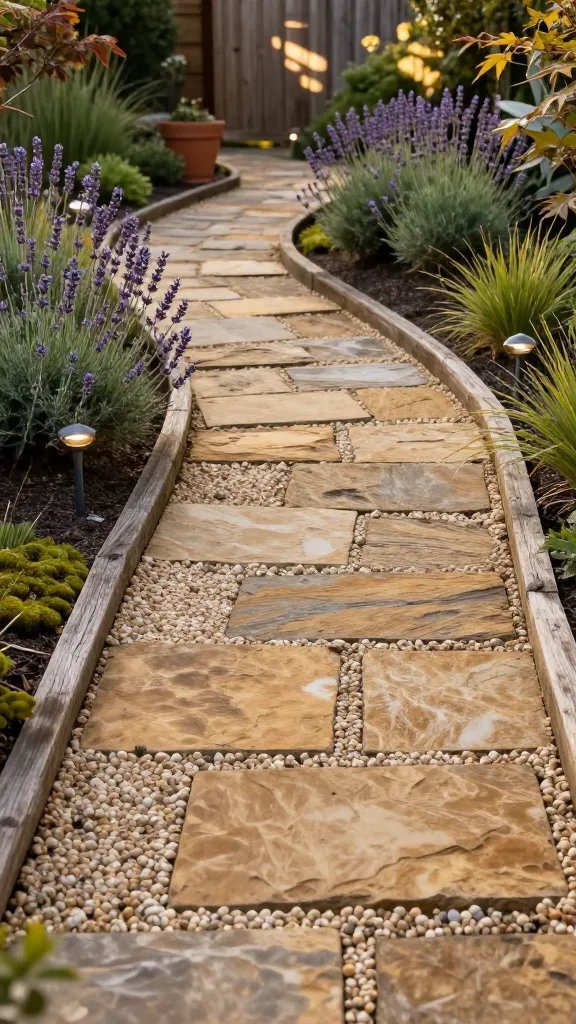
Flagstone looks expensive, but you can DIY it affordably if you buy irregular pieces. The natural edges and color variation scream rustic sophistication. Pairing stone with pea gravel keeps costs down and installation friendly.
Key Points
- Dry-lay to test your pattern before committing
- Set large stones flush to prevent trip hazards
- Fill joints with pea gravel for contrast and drainage
Use a warm-toned stone like sandstone for sunny areas, or cooler slate for shaded nooks. Add solar stake lights to make it glow at night—seriously, it looks magical.
Great for winding garden paths where you want a premium look without concrete work.
5. Wood-And-Gravel Boardwalk Hybrid
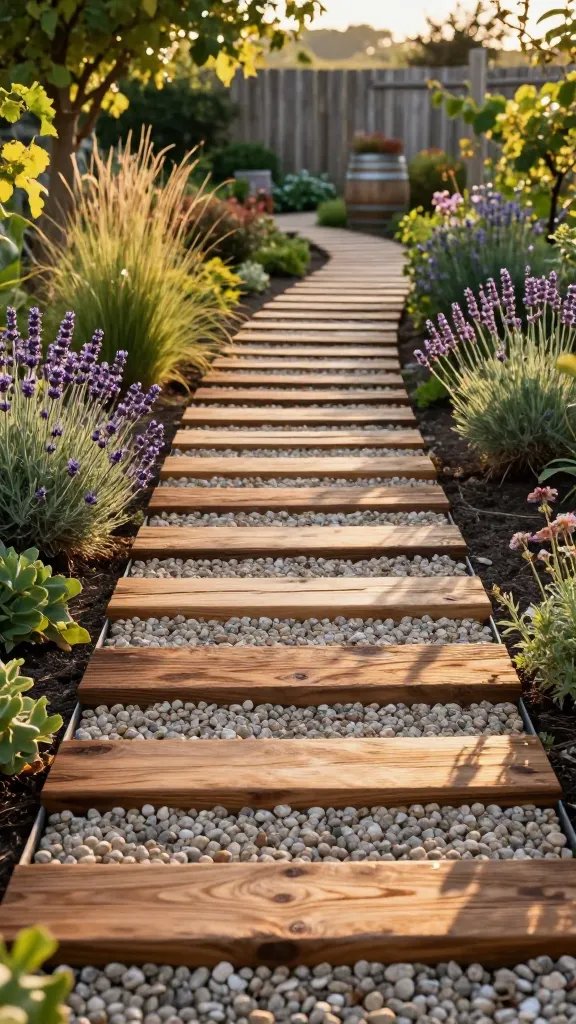
Can’t decide between a wood walkway and gravel? Do both. Alternating short wood planks with strips of gravel gives you texture, rhythm, and a very “boutique vineyard” feel.
Materials
- Pressure-treated or cedar planks, cut to 18–24 inches
- Compacted base and metal edging
- Pea gravel or decomposed granite
- Exterior screws and spacers
Lay planks on compacted base with small gaps for drainage, then alternate sections with gravel. Keep everything level to prevent toe-stubs, and oil the wood to highlight grain. FYI, cedar smells incredible on warm days.
Use this on slight slopes or areas that get damp—great drainage and easy upkeep.

6. Cobblestone Medley From Salvaged Pavers
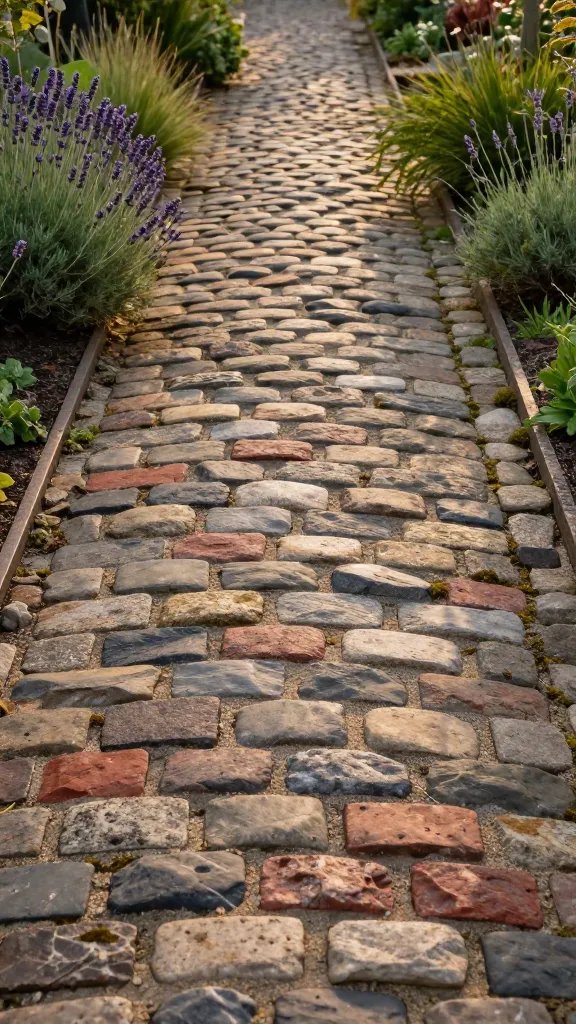
Mix-and-match cobbles and old pavers for a pathway that looks like it evolved over decades. Slight color shifts and different block sizes make it wonderfully imperfect. It’s rugged, stable, and extremely rustic-chic.
How-To
- Set a compacted base and a 1-inch sand bed
- Blend stones randomly as you lay for natural variety
- Tamp gently and sweep in jointing sand
Don’t overthink the pattern—embrace irregularity. Edge with metal or stone to keep it all locked in. The result feels like a European alley snuck into your backyard.
Best for high-traffic areas that need long-term durability and character.
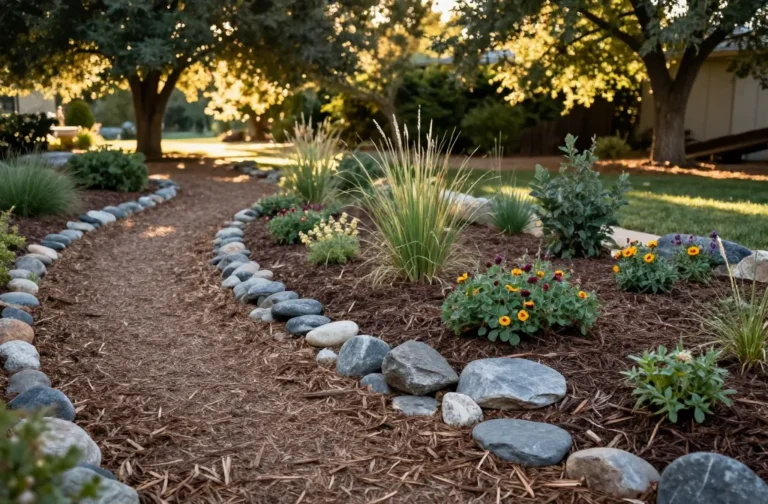
7. Mulch Meander With Log Edging
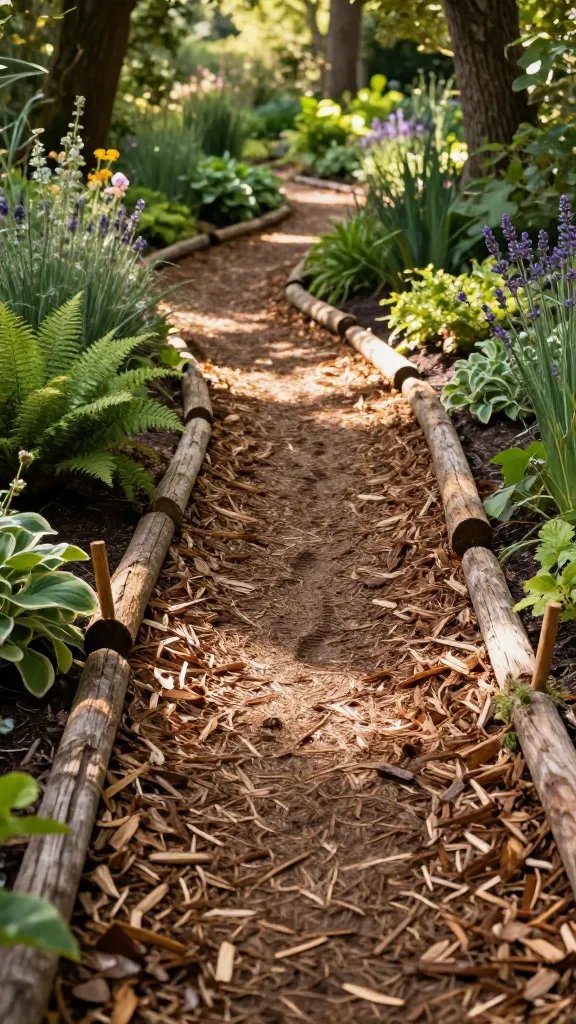
Mulch pathways are budget-friendly, soft underfoot, and fast to build. Add log or branch edging and you get instant woodland trail energy. This one’s perfect for snaking through beds without heavy lifting.
Materials
- Shredded bark mulch or wood chips
- Landscape fabric (optional, for weed suppression)
- Logs, branches, or split rails for edging
Outline your path with logs staked in place, then fill with a few inches of mulch. Refresh yearly to keep it looking lush. Bonus: mulch smells amazing after rain and nurtures soil life.
Use for casual garden trails, veggie patch walkways, or kids’ play zones.
8. Broken Concrete (Urbanite) Mosaic Path
Upcycle busted concrete into a quirky, stone-like pathway. Urbanite mimics flagstone but costs nothing if you source it from a demo site. It’s sustainable, textural, and tough as, well, concrete.
Tips
- Choose pieces with at least one flat surface
- Lay on compacted base with sand for leveling
- Soften gaps with gravel, thyme, or sedum
Break edges with a sledge to round corners and avoid sharp lines. Arrange like a puzzle, then sweep in gravel for contrast. It looks artisan-made and wears beautifully over time.
Perfect when you want a rustic path with eco-cred and low cost.
9. Stepping Stones Through Groundcover
Stone steppers floating through a sea of green look dreamy and effortless. Plant low-growing groundcovers and let them creep between stones. You get softness, scent, and a path that blends into the garden.
Great Groundcovers
- Creeping thyme (fragrant, sun-loving)
- Irish moss (deep green, part shade)
- Blue star creeper (tiny flowers, resilient)
Space stones one comfortable stride apart. Plant plugs between and keep soil moist until established. The greenery muffles sound and cools hot days—your feet will thank you.
Lovely for contemplative garden corners or routes to seating nooks.
10. Railroad Tie Steps On A Gentle Slope
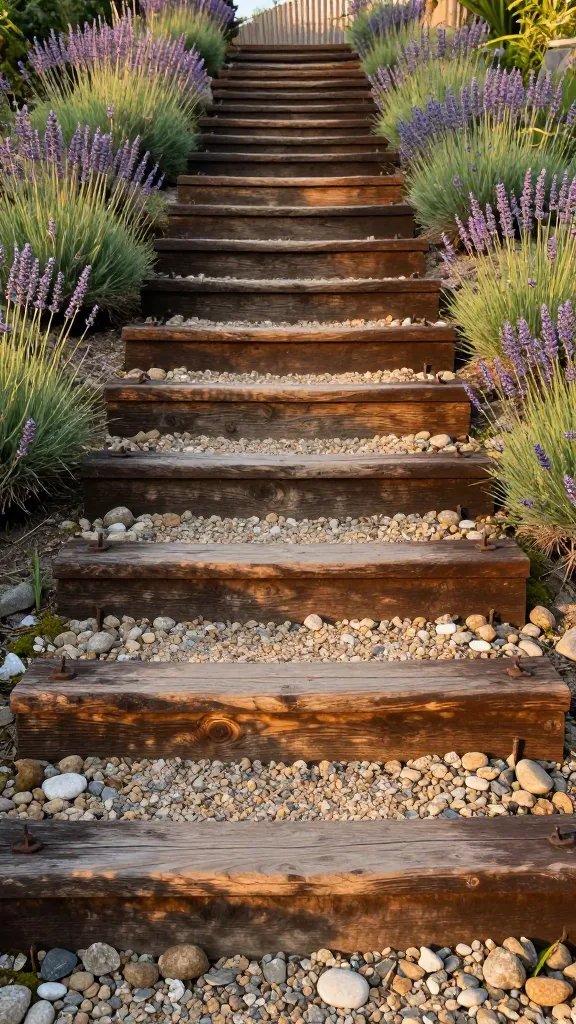
Got a slight hill? Turn it into a statement with rustic timber steps. Weathered railroad ties or landscape timbers carve out a sturdy, vintage-looking pathway that laughs at erosion.
Build Notes
- Cut risers to fit path width; anchor with rebar
- Backfill with compacted gravel and top with crushed stone
- Pitch slightly forward for drainage
Stain or oil the timbers for depth, then flank with native grasses or lavender. You get safe footing, a bold silhouette, and instant terrain drama—trust me, it transforms slopes fast.
Best for sloped yards, terraced gardens, or access routes to sheds and fire pits.
Ready to pick a favorite? Start small, test a layout, and let the materials guide you. These DIY rustic pathways don’t just connect spaces—they set the mood for your entire garden. Grab a shovel, cue the playlist, and build a little magic under your feet.